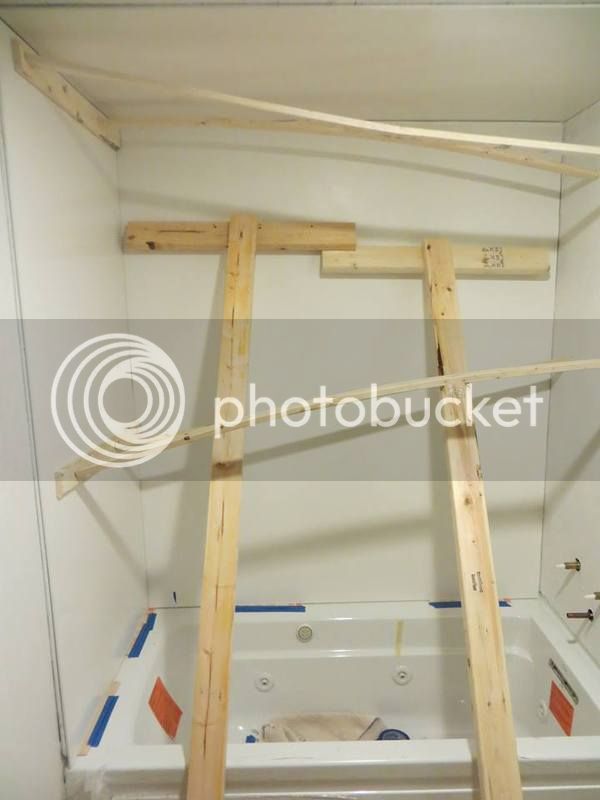
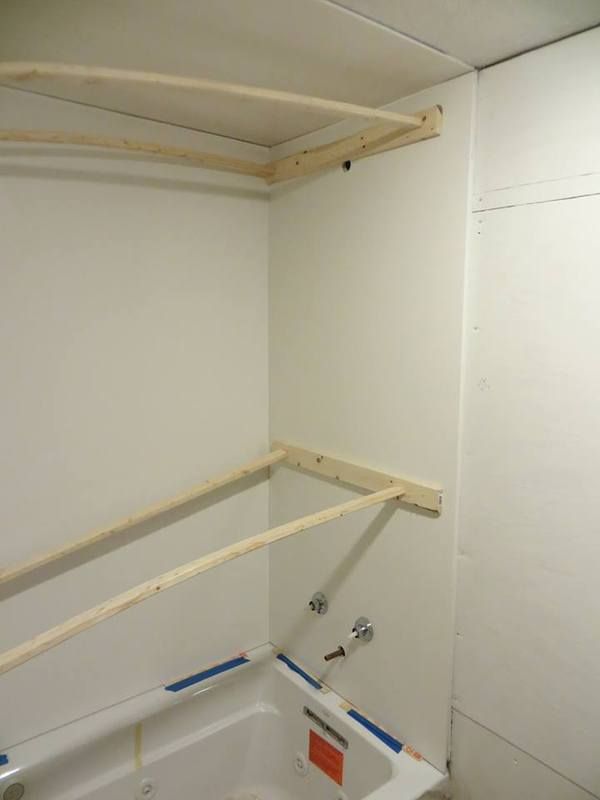
Looking good Jim. What are you bracing? The final sheet? Is it frp board glued on? I assume you have green board screwed on under it.
No green board, that is not a good choice to surround a tub. Even the manufacturer says so, though builders use it all the time as the cheaper way out. See:
https://www.usg.com/content/dam/USG...gular-and-firecode-cores-submittal-WB2390.pdf
Mine is cement board, screwed on and seam sealed with Kerdi-Band (
http://www.homedepot.com/p/Schluter...d-KEBA100-125-5M/202022507?keyword=Kerdi+band) and thinset mortar. At the bottom, the cement board is sealed to the tub tile lip with silicone. There is no way water can get through or behind that substrate.
The reason I went to this level (which is required by local codes in some areas) is because when I removed my old tub, all I saw back there was black mold. I had to rip out a lot more than I had planned for due to mold and rot. I don't want that again. I primed both sides of all sheet wood goods with a primer-sealer that had additional mold inhibitor added, too.
What you see braced are Swanstone fiberglass wall and ceiling panels (
http://swanstone.com) that have been attached to the primed/sealed cementboard using GE Silicone II (and also some Loctite PowerGrab on the ceiling and rear panel to make sure they stay attached). They are 3/8" thick. I did not use the Swanstone attachment method. I used a method employed by a much more expensive competitor, Onyx, which you can see under "Wall Panel Installation" here:
http://www.onyxcollection.com/shower-install-videos.html
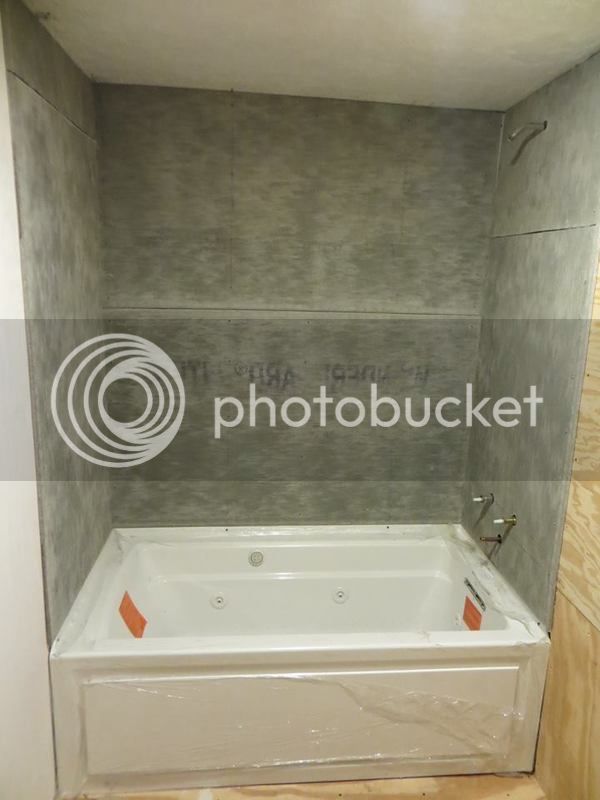
This is the finished surround. All I need to do now is fill the 1/8" gaps with white 100% silicone caulk and attach the soap dishes. I saw this product first at the beach condos we stay in, and fell in love with it immediately. Cleaning is easy. Get a squeegee, wet the surface, and wipe it down. Done. After I saw that, I wouldn't have anything else for my remodel.
Probably TMI, but this really is a textbook installation as far as modern techniques, so I'm pretty proud of it. LOL.
 Primanti Brothers in York for dinner last night after a good hike at the lake with my Mrs.


")


