DIY Electric HLT

Winemaking Talk - Winemaking Forum

Help Support Winemaking Talk - Winemaking Forum:

This site may earn a commission from merchant affiliate links, including eBay, Amazon, and others.

Wade E

Premium
Joined
Jul 3, 2006
Messages
33,224
Reaction score
291
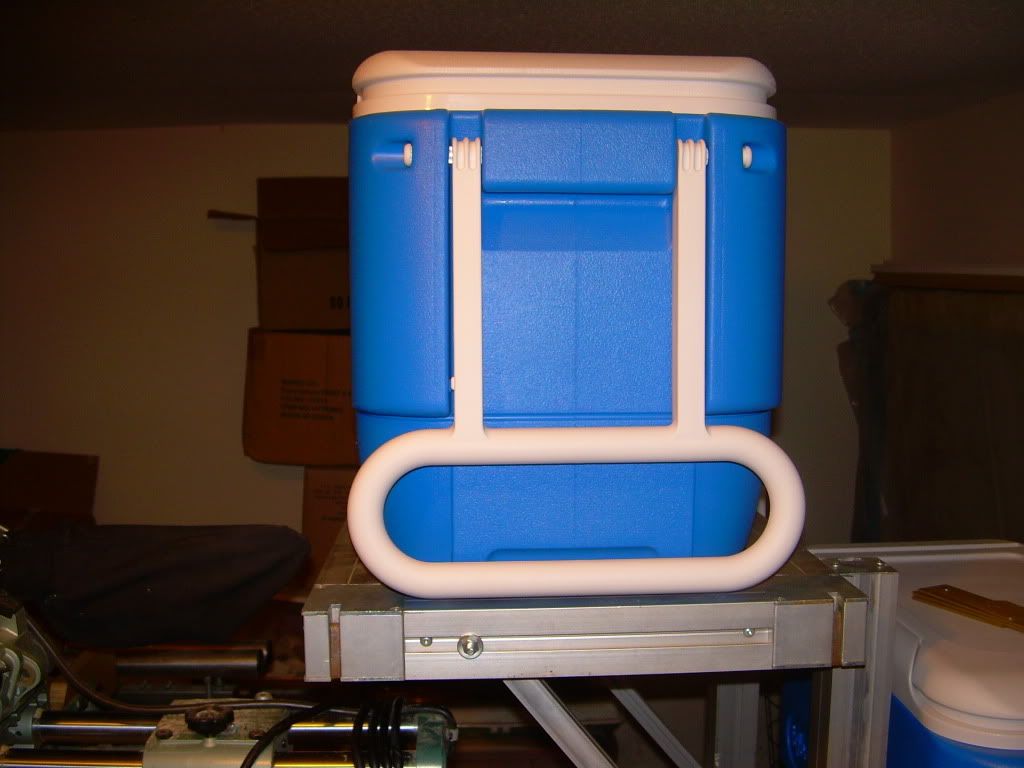
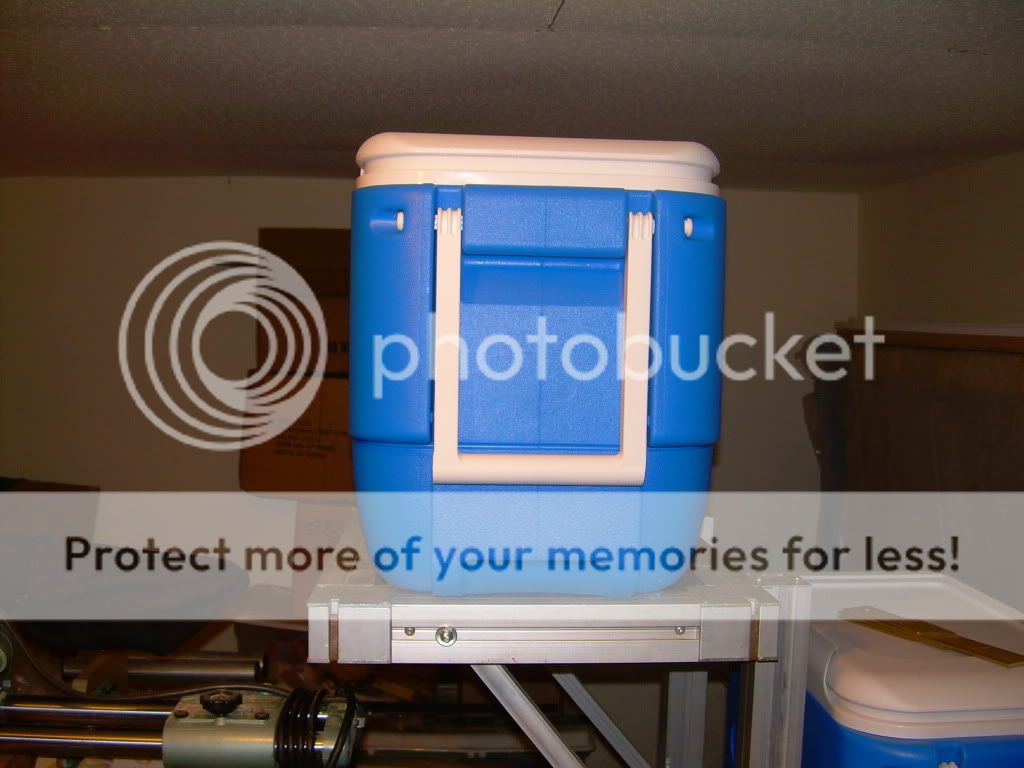
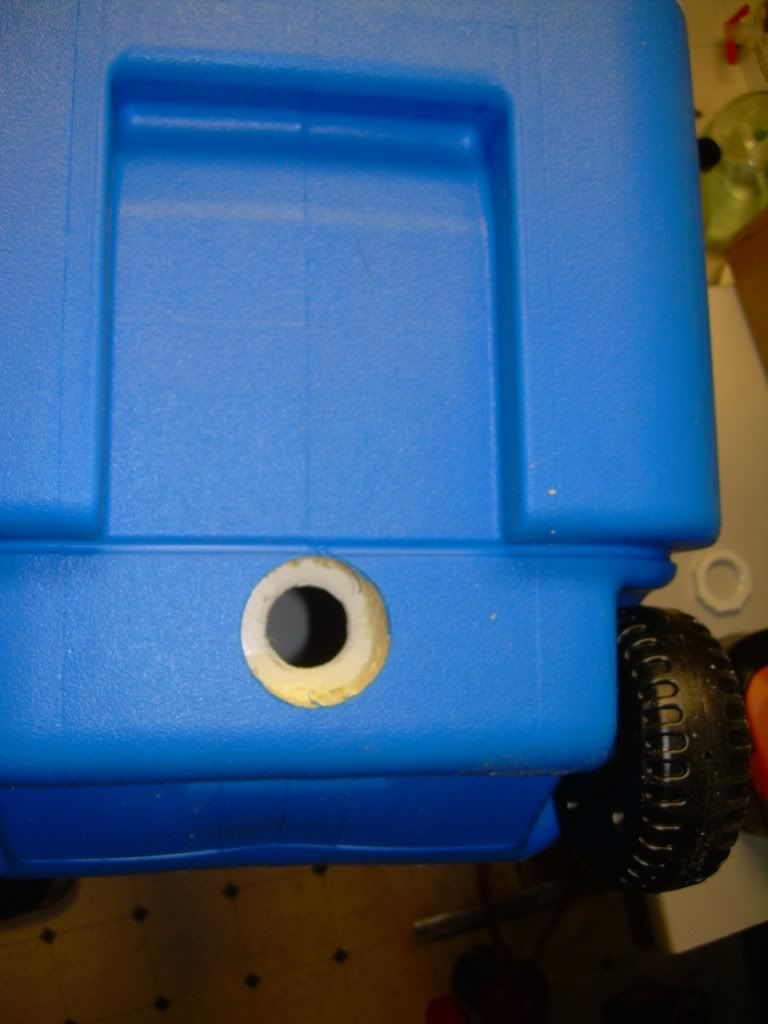
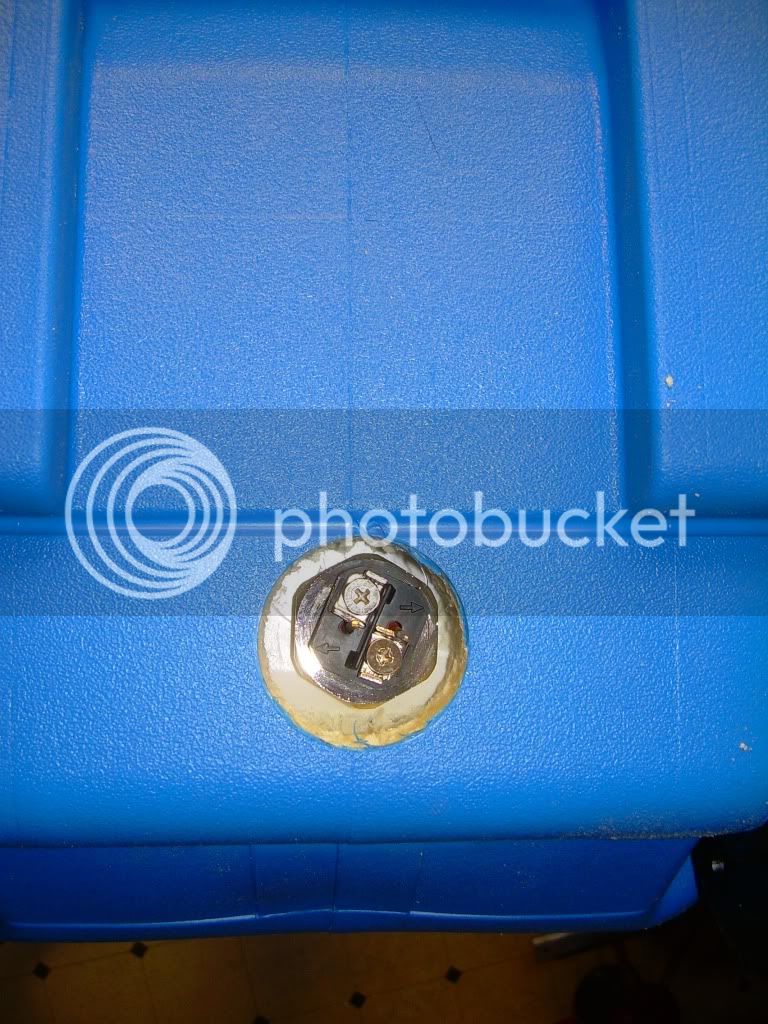
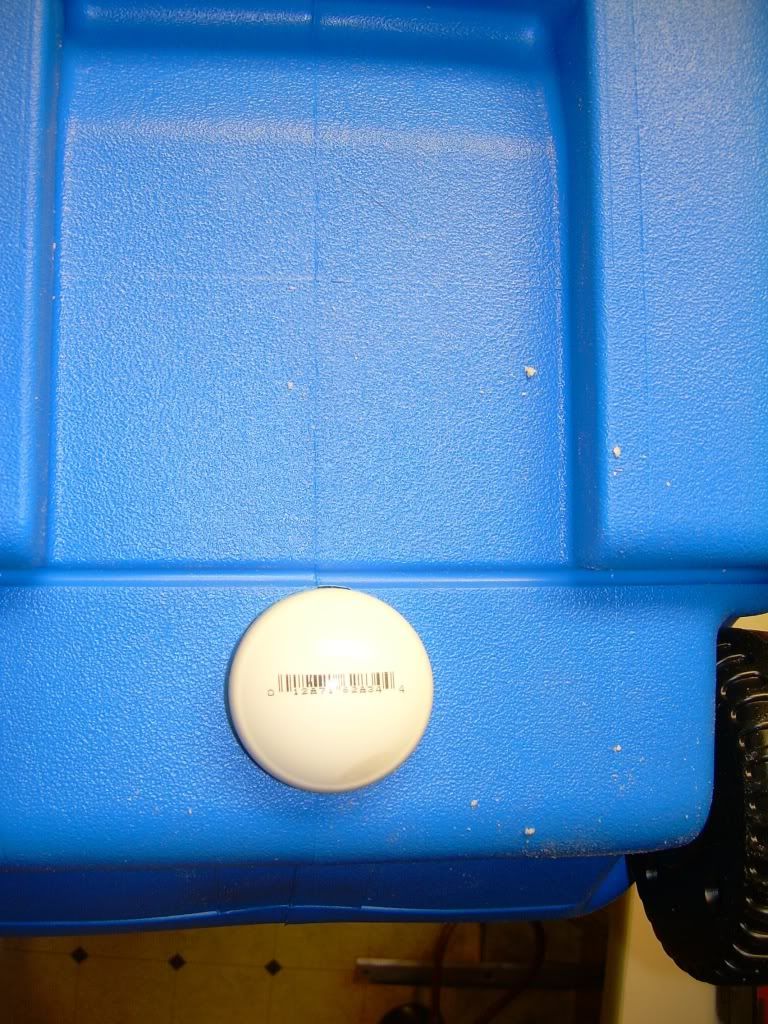
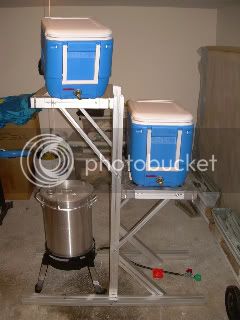
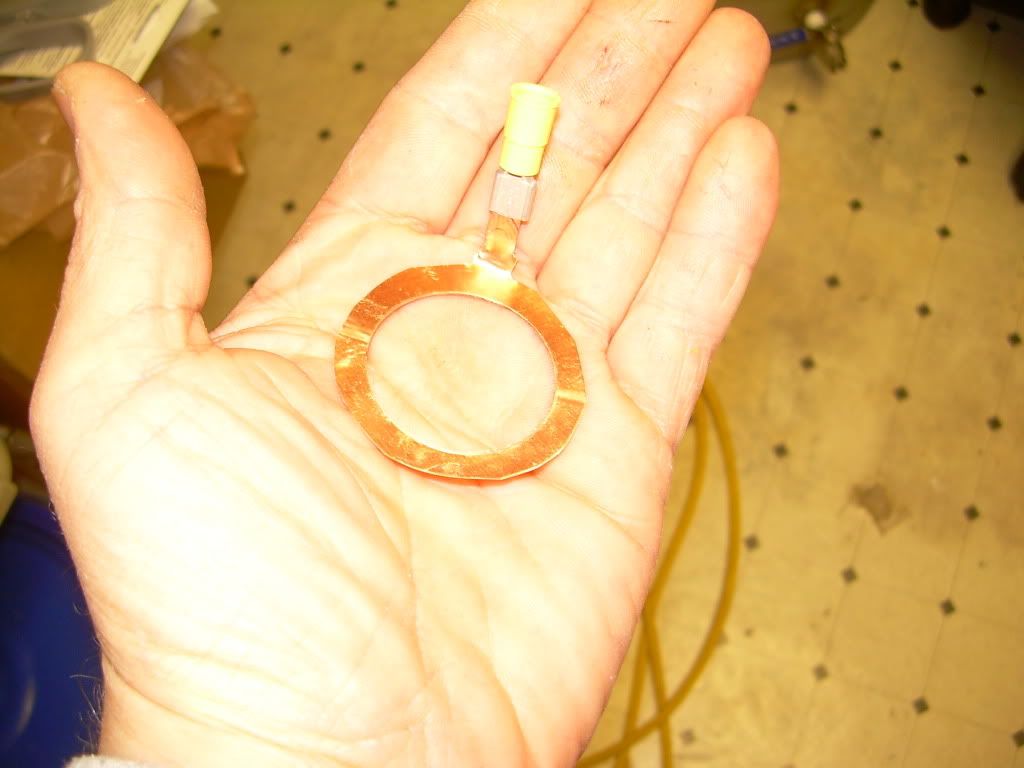
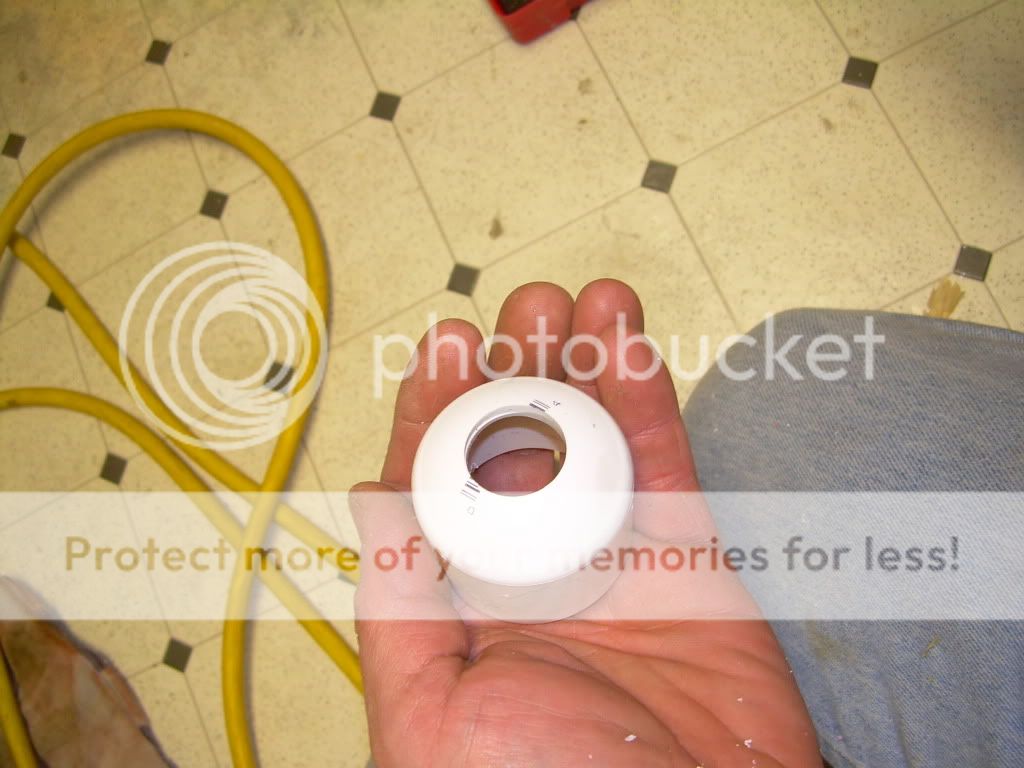
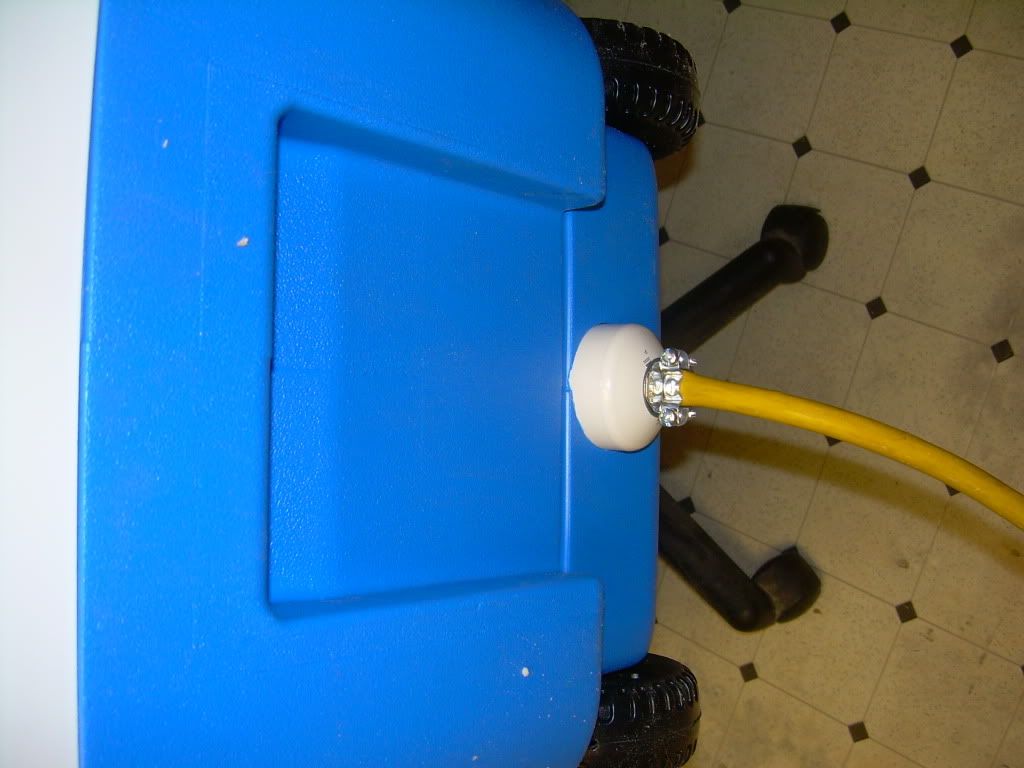
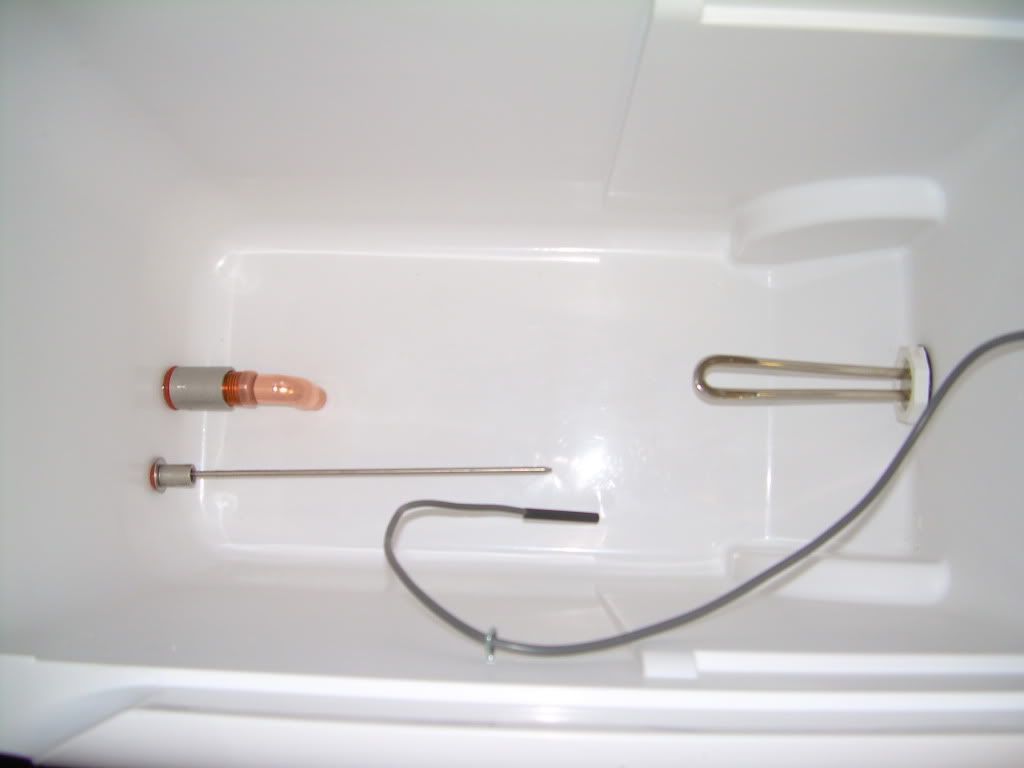
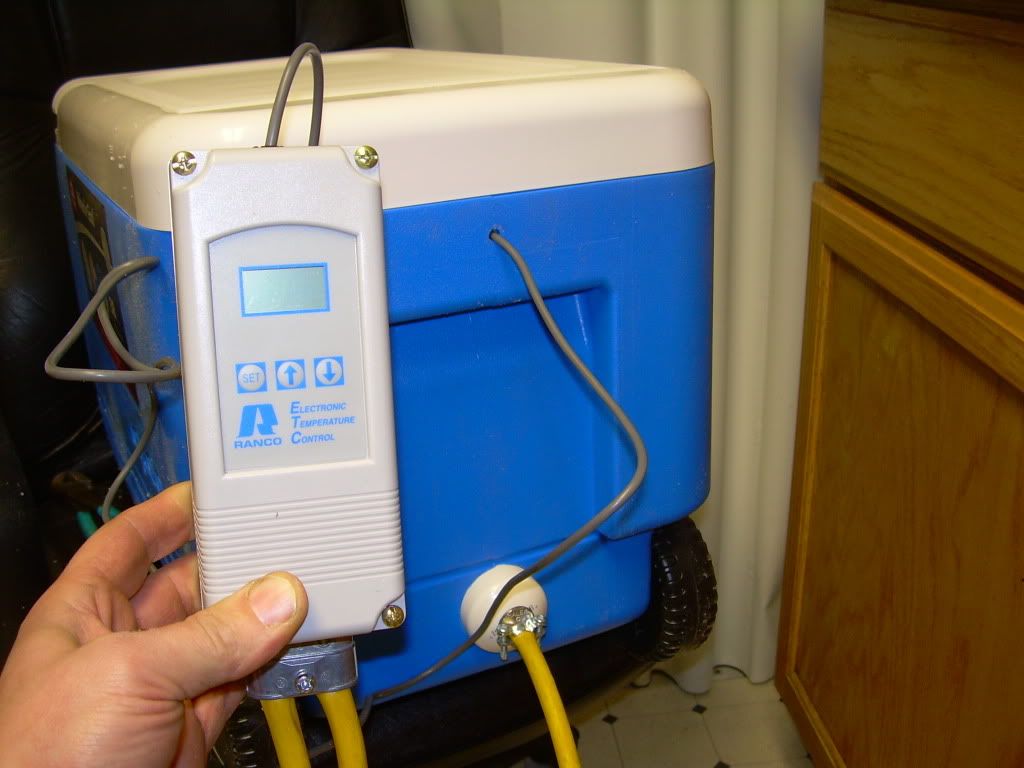
Okay early last year I built my mash tun but never got around to doing a Hot Liquor Tun, well that time has come! I started with a Igloo cooler from Target, its the same as the other one I have which olds temp very well and is very cheap! $19.86 for a 32 quart, the only problem is is that it is very thick so you need special 3" nipple for it. I bought Kewler Kit ball valve assembly, a Kewler kit thermo thingy and thermo for it, a 1500 watt hot water heater element and a Johnson digital temp control. I drilled a 7/8" hole in the middle bottom for the ballvalve, another hole 3/8" located to the right of that for the thermo. Then around back I drilled a 2" hole just through the first layer of the cooler for the heating element cover which is a PVC Cap in which the wiring will come through to the controller. Then using 1 1/4" hole saw I finished drilleing through for the heating element it self. The element has a supplied gasket but needs another on the inside of the cooler nd also needs a nut on the inside to hold iy in since these usually screw right into a welded fitting on the water tank. I took a PVC bushing and cut most of it off leaving just the part that looks like a nut. I found a rubber O ring in Home Depot in the sink repairs area that fits it perfect. I still need some supplies for it like electrical clamps to wire the control unit and to hopefully drill through the PVC cap. I also need to get a pce. of copper and drill a 1 1/4" hole in that and then cut around that leaving a tab in one spot to solder the ground wire from the heating elemet on. here are some pics but its still a work in progress. I also had to cut the handle on my cooler cause it would impede on the ball valve and thermo.My electric keggle should be in tomorrow!
smiley32.gif

HLT1.jpg

HLT2.jpg

HLT3.jpg

HLT4.jpg

HLT5.jpg

HLT6.jpg

Bushing.jpg
 
That's great Wade. I hope after all that it doesn't leak...... that would just be a bummer. Do you use that right in the wine room or have to move it outside for using it?
 
I wheel this whole unit into the open basement, The whole set up takes up some room. Plus Ill need to run the keg that is electric also using he dryer outlet as that needs 220! The turkey fryer under it has just been replaced by a keg that actually just came in today, Its Christmas all over again! It is a keg that ha had the top cut out and 2 holes drilled through it, 1 for a ballvalve and another for a huge hot water heating element.
Brewsculpture.jpg
 
Finally wrapped this thing up today. Its done now. I couldnt find a sheet of copper that was worth buying
for the little grounding washer that I needed so I bought a newel post
angled cap for $2.34, cut the angled ends and then pounded it flat. I
then pulled oy mu 1 1/4" hole saw and drilled a hole in it making sure
there was enough room at one point to leave a tab for the ground wire.
here is the end result of this and this little part is very important
to this project if you anything about electricity!
shocking.gif


This copper washer goes in between the gasket and the heating element to ground everything.
HLT7.jpg


I then drilled a hole through the PVC end cap and attached a wire clamp
to it so that the wires wouldnt be exposed that connect to the heater
element. I finished connecting the wires, drilled a small hole
through the cooler for the temp probe and little eye hook to keep the
probe out of harms way of the heater element. I also soldered a few pcs
of copper with an elbow so that I could get all the water out of the
cooler(Dip Tube). Thats it. Its a little bit of work but way cheaper
then buying 1 and building its mostly fun. Then I finished wiring the Temp control unit.
HLT8.jpg

HLT9.jpg

HLT10.jpg

HLT11.jpg
 
I was thinking of lots of chewing gum in case it leaks! If it does leak a little its no problem as I can just smooth in some Aquarium caulk on the inside. Its food safe! I think I did a damn good job though so we'll see. Im still waiting for a 3" nipple(no remarks here please!) to replace the one thats actually just a little too short for the ball valve assembly due to my cooler's extreme thickness!
 
I see you have the ranco controll. i have both the ranco and the johnson. The reason being that after i found the johnson only can be set for 100C/212F; i felt that if i wanted to maintain a boil in any operation, i needed to be able to call for a temp slightly above boiling
 
i see 2 temp probes. one for the controll and an analog which i supose allows a double check and also allows you to monitor during the mash.


i now use a hot plate and stainless pot for mashing. i use it for my other hobby mashing too.


What i would like to know Wade is that if you run the heater while grain is in the tun or just to heat the water.
 
An HLT is just for hot water. the MLT is where the grains are mashed and then drained into the pot below that. So here is how a 3 tier brew system works. Water is heated at the top HLT(Hot Liquer tun) . Once the temp is right for mashing then that water is drained down to the Mash Lauter Tunand grains are slowly added in and stirred so that they dont clump up, you hold that temp in that cooler for approx 1 hour until all the starch is converted. While that is mashing you heat up your sparge water in the HLT again. Once the starches are converted you slowly drain that into the pot or keggle and then drain the very op HLT again into the MLT to rinse the grains of any sugars that may have been left in cooler and drain that also into the pot and now you have all your wort and its time to get that carnking and boil that for about an hour and then cool it down as fast as you can and et it into your vessel where you should ahve a yeast starter ripping and ready to go right in.
 
wade said:
An HLT is just for hot water. the MLT is where the grains are mashed and then drained into the pot below that. So here is how a 3 tier brew system works. Water is heated at the top HLT(Hot Liquer tun) . Once the temp is right for mashing then that water is drained down to the Mash Lauter Tunand grains are slowly added in and stirred so that they dont clump up, you hold that temp in that cooler for approx 1 hour until all the starch is converted. While that is mashing you heat up your sparge water in the HLT again. Once the starches are converted you slowly drain that into the pot or keggle and then drain the very op HLT again into the MLT to rinse the grains of any sugars that may have been left in cooler and drain that also into the pot and now you have all your wort and its time to get that carnking and boil that for about an hour and then cool it down as fast as you can and et it into your vessel where you should ahve a yeast starter ripping and ready to go right in.


Ok good. im wanting a 3 tier setup and wasnt really sure about the semantics--ill have to scetch a but then take sone notes.


Thanks again
smiley1.gif
 
Back
Top